If you have diabetes, you know how important it is to monitor your blood glucose levels. Thankfully blood glucose meters make it easy. These small, computerized devices have the capabilities to measure and display your blood glucose levels quickly and effectively. But with so many glucose meters on the market, how do you choose the right one?
In this article, we take a closer look into the different types of glucometers and the factors you should consider when choosing one. Exploring the different types, understanding how they work and how to read their results are all important things to know before choosing one. Here’s how to choose the right blood glucose meter for you!
Types of Glucometers
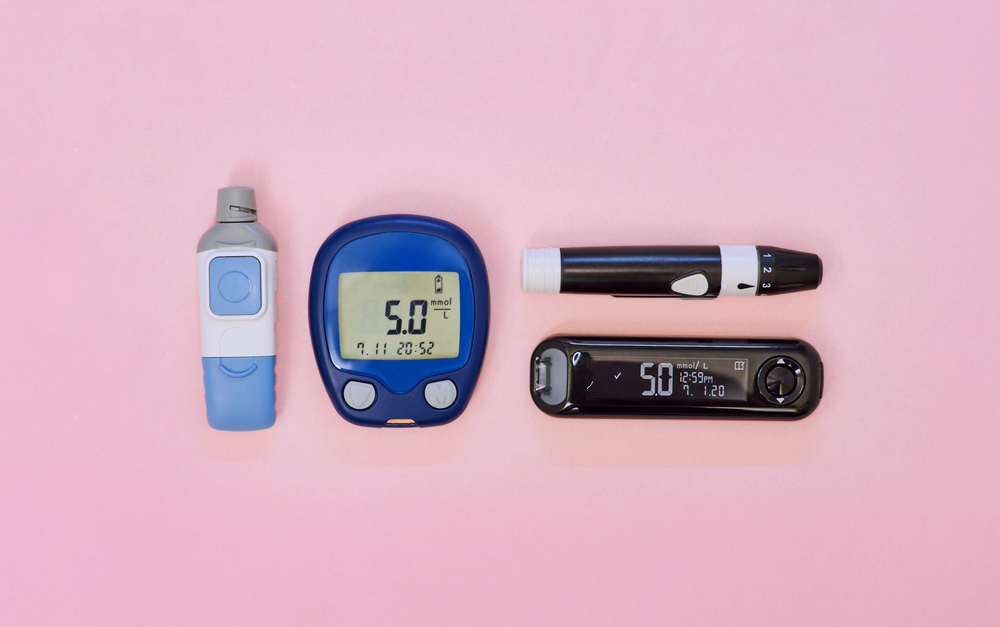
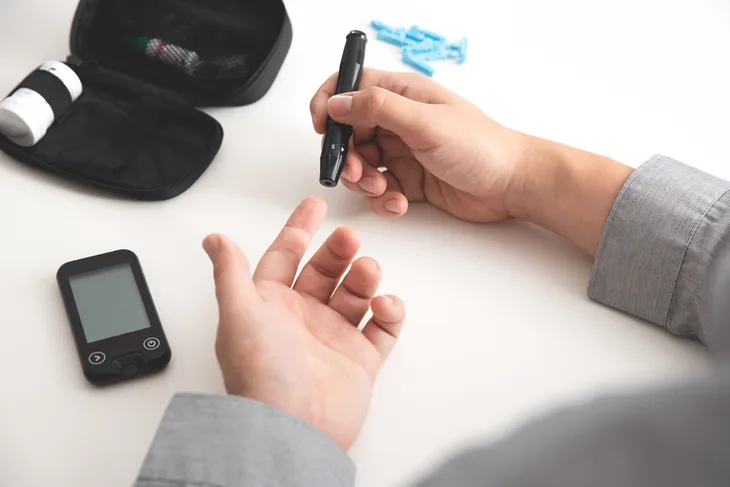
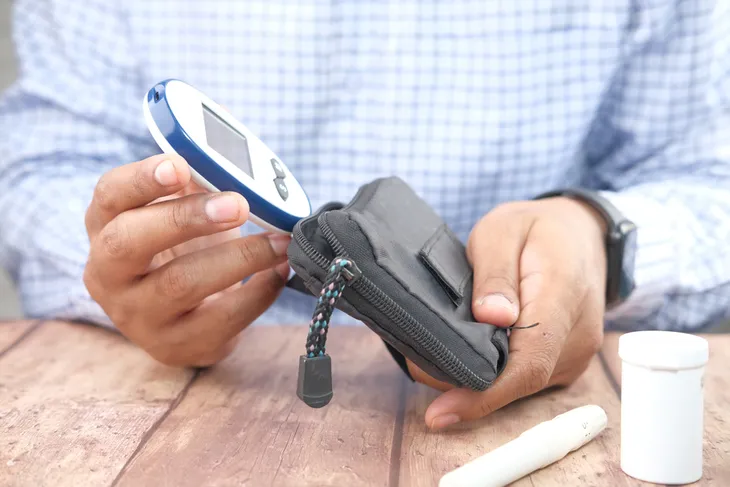
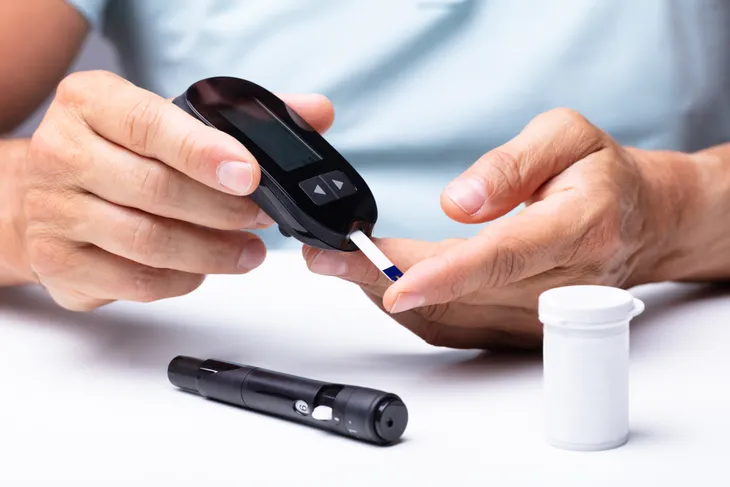
There are a few different types of glucometers to choose from. The most popular option is a traditional glucose meter that uses a more invasive method like taking a blood sample using a lancing device, lancet, and test strips. These are usually sold in kits at the time of purchase, however, you will need to replace the lancets and testing strips. Even though this method is invasive, it is the most accurate method of measurement.
Another type of glucometer is a non-invasive device that scans the area (usually the arm) to check your blood glucose levels. This type may be convenient to use but they aren’t as accurate compared to invasive glucometers. This is likely the least recommended or not recommended at all. Confirm with your medical staff before considering this depending on how well control or uncontrolled your blood sugar is.
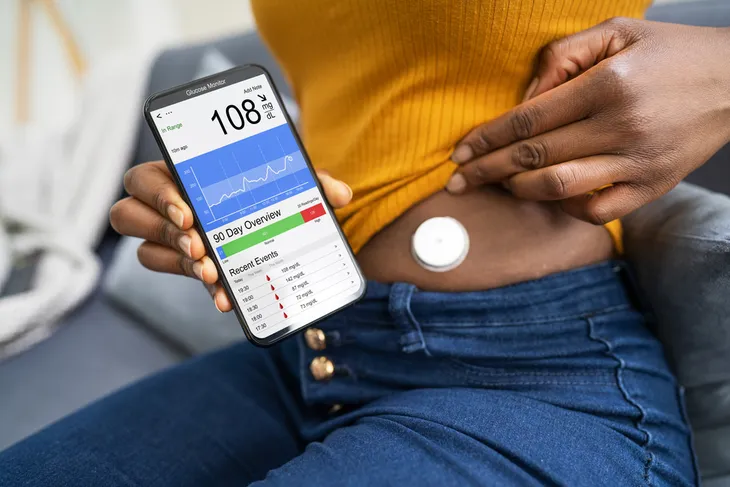
The last type of meter you can get is continuous glucose monitoring. This device requires the individual to wear it and take it everywhere. The sensor is implanted on the body (most often the arm or abdomen) and measures glucose levels in the interstitial fluid. Some people like this type best because you no longer have to prick your finger several times a day.
Cost of the Glucometer
One of the first things you should consider when choosing a glucose meter is the cost. Some meters can be expensive and finding one that fits within your budget is important.
Another thing to keep in mind is test strips are sold separately from meters. This can be an unexpected cost if you aren’t aware of that. So make sure you find out how much the test strips will cost you and how often you’ll need to buy them.
Are You Covered By Insurance?
If you have health insurance, they may be able to cover all or partially cover the cost of the meter. Make sure you call and find out what you’re eligible for as this can help cut down on costs.
Further, some insurance companies only cover certain meters so find out if they have a pre-approved list or if you can choose any meter you want. Finally, you’ll need testing strips which can be a reoccurring cost so find out if your insurance company covers the cost of testing strips and supplies as well.
The Features and Benefits
After examining the cost and determining your budget, you’ll want to consider the features and benefits of the meter. For example, if you’re constantly on the go, you may require a compact meter.
In contrast, if you have visual impairment a small meter may not be a good option. In that case, you may need a meter with an easy-to-read screen.
Colorful meters are also available which are great options for children with diabetes. There are many features and benefits you’ll want to consider when choosing a glucose meter. Let’s take a close look at some of these features!
Consider the Size of the Glucose Meter
One of the first features to consider is the size of the glucose meter. If you know you need to take it on the go often, then you’ll want a meter that is small and compact, and easy to carry in your purse, pocket, or bag. The size and weight matter too, especially if you have small hands or if you’re shopping for a meter for a child.
Visibility and Sound
The next feature you’ll want to explore is the visibility and sound of the meter. First, make sure you can easily read the numbers on the device. Having a hard time seeing your glucose readings will be a pain. Try and look for a device that has a screen that is easy to read in low light.
Further, find out if the monitor has a sound system. This is especially helpful if you have any visual impairment.
Is It Easy to Use?
Next, explore the user-friendliness of the device. The last thing you want is a complicated meter especially when you’re testing a few times per day.
Find out what the testing procedure requires because some devices require more work. For example, find out how much blood the testing strips require and how long the device takes to produce results.
Storage of Information
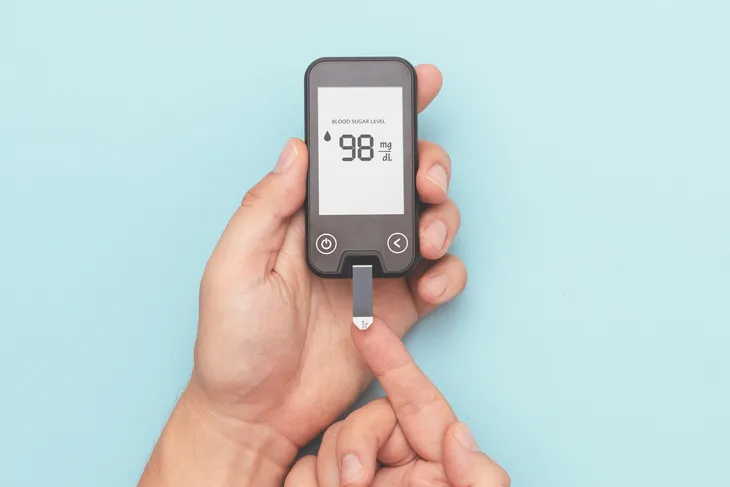
The next feature you’ll want to explore is how the device stores and retrieves information. Some devices have memory options that can store everything you would normally write in a log. This can include the date and time of the test and the results.
Some devices can even send your readings directly to your doctor through a smartphone app and others allow you to download the readings to a computer or smartphone so you can email the results to your doctor.
These features are great, especially for people who are constantly on the go. However, if you prefer to record your readings in a notebook, a simplified device that takes readings but doesn’t record them might be a better option for you. Not to mention, a simplified device will likely be cheaper too.
Technical Support
Another feature you may not have considered is what type of technical support comes with the device? Some manufacturers have a toll-free number that you can call if you need help with your device. You’ll also want to make sure the device comes with an easy-to-read manual either with the device or on their website.
Doctor Recommendations
Finally, don’t forget to ask your doctor for recommendations. Not only is your doctor experienced with these devices, but they know your personal needs. With this information, they’ll be able to help guide you into choosing the right glucose meter for you!
Once you find the right glucose meter, your doctor can show you how to use it. Next, let’s take a look at some tips to properly use a glucose meter.
How to Properly Use a Glucose Meter
The first step to properly using a glucose meter is to thoroughly read the user manual. The U.S. Food and Drug Administration (FDA) requires all manufacturers to provide detailed instructions on how to use the device.
The accuracy of the meter depends on the quality of the meter and strips, as well as how you use it. Some factors that can affect a glucose reading include user technique, interfering substances, altitude, temperature, and humidity. One of the best ways to check your machine’s accuracy is to compare it to the machine at your doctor’s office.
Lastly, have your doctor or a nurse observe you taking a test. This can help ensure you’re using the device correctly and using the right techniques.
