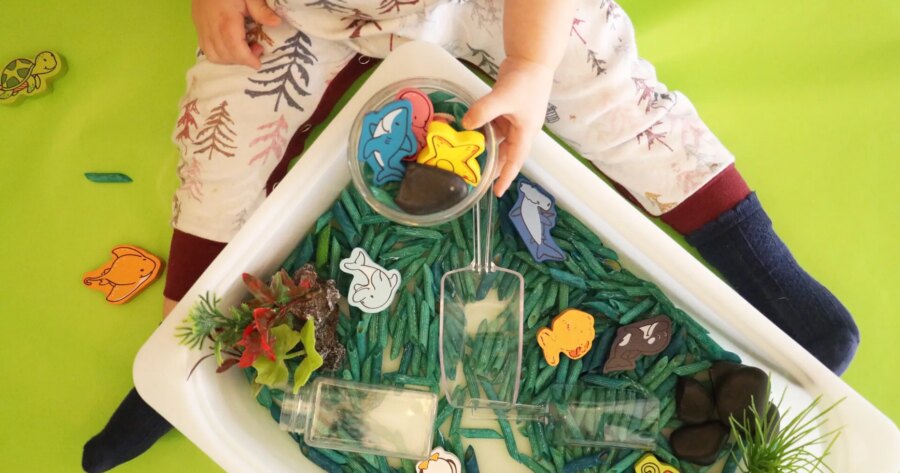
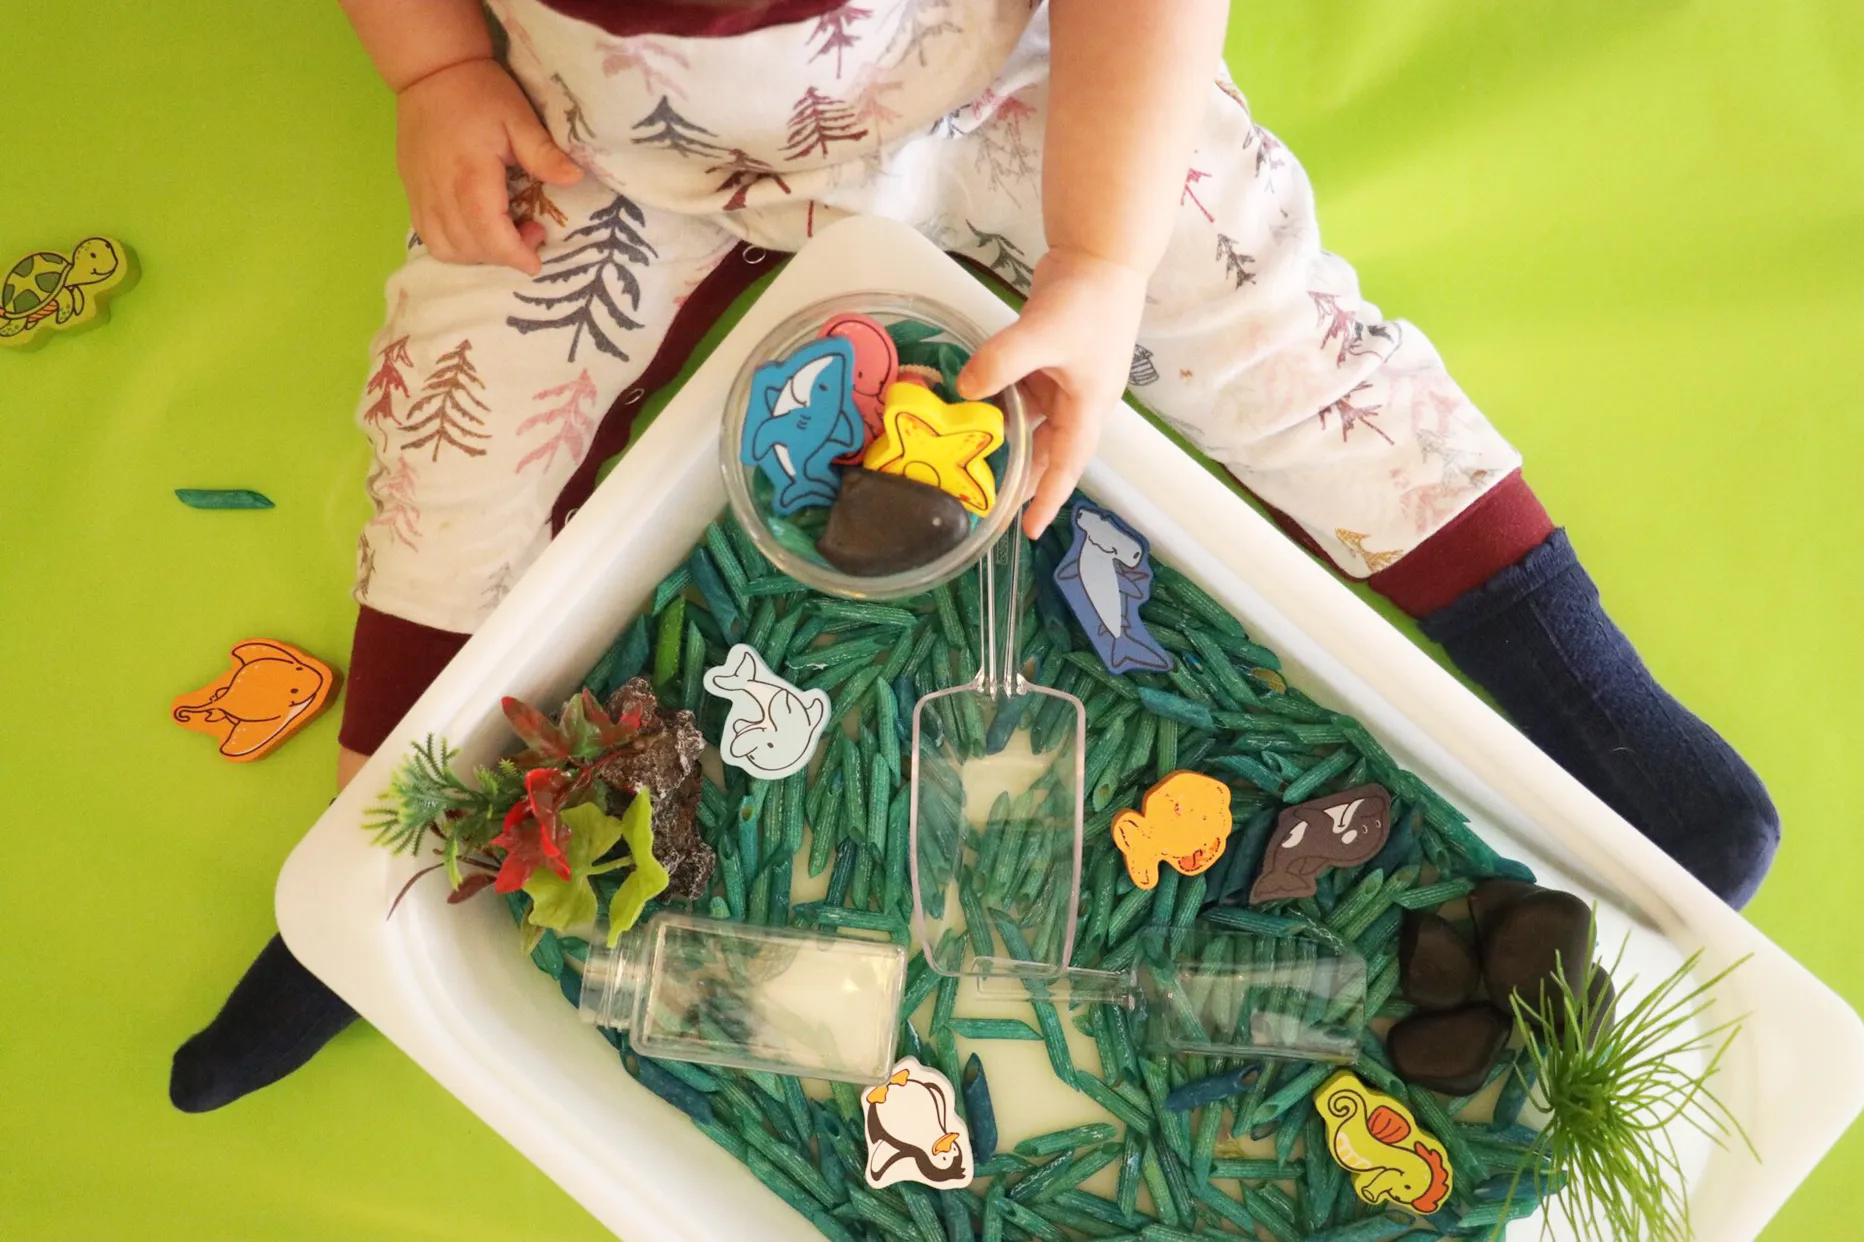
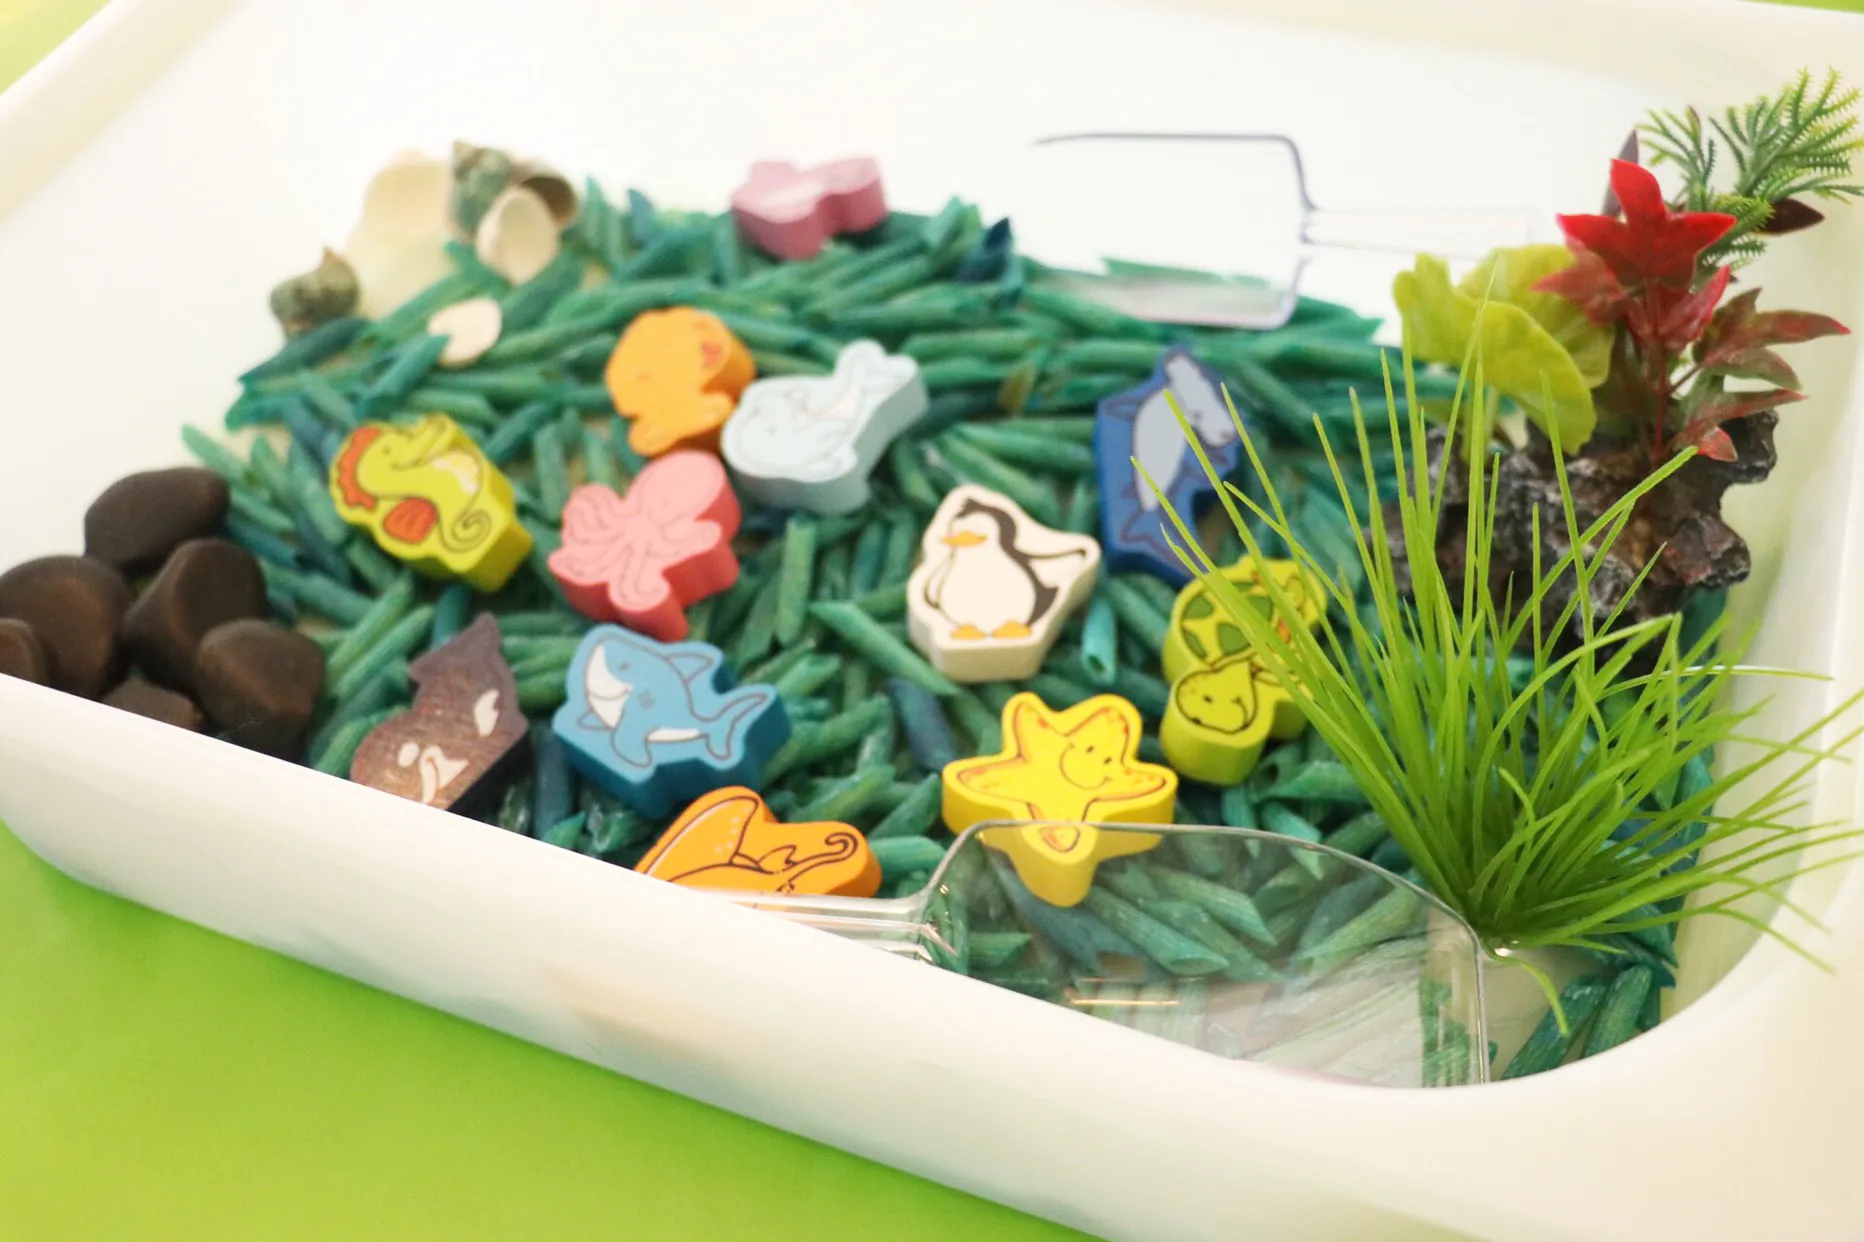
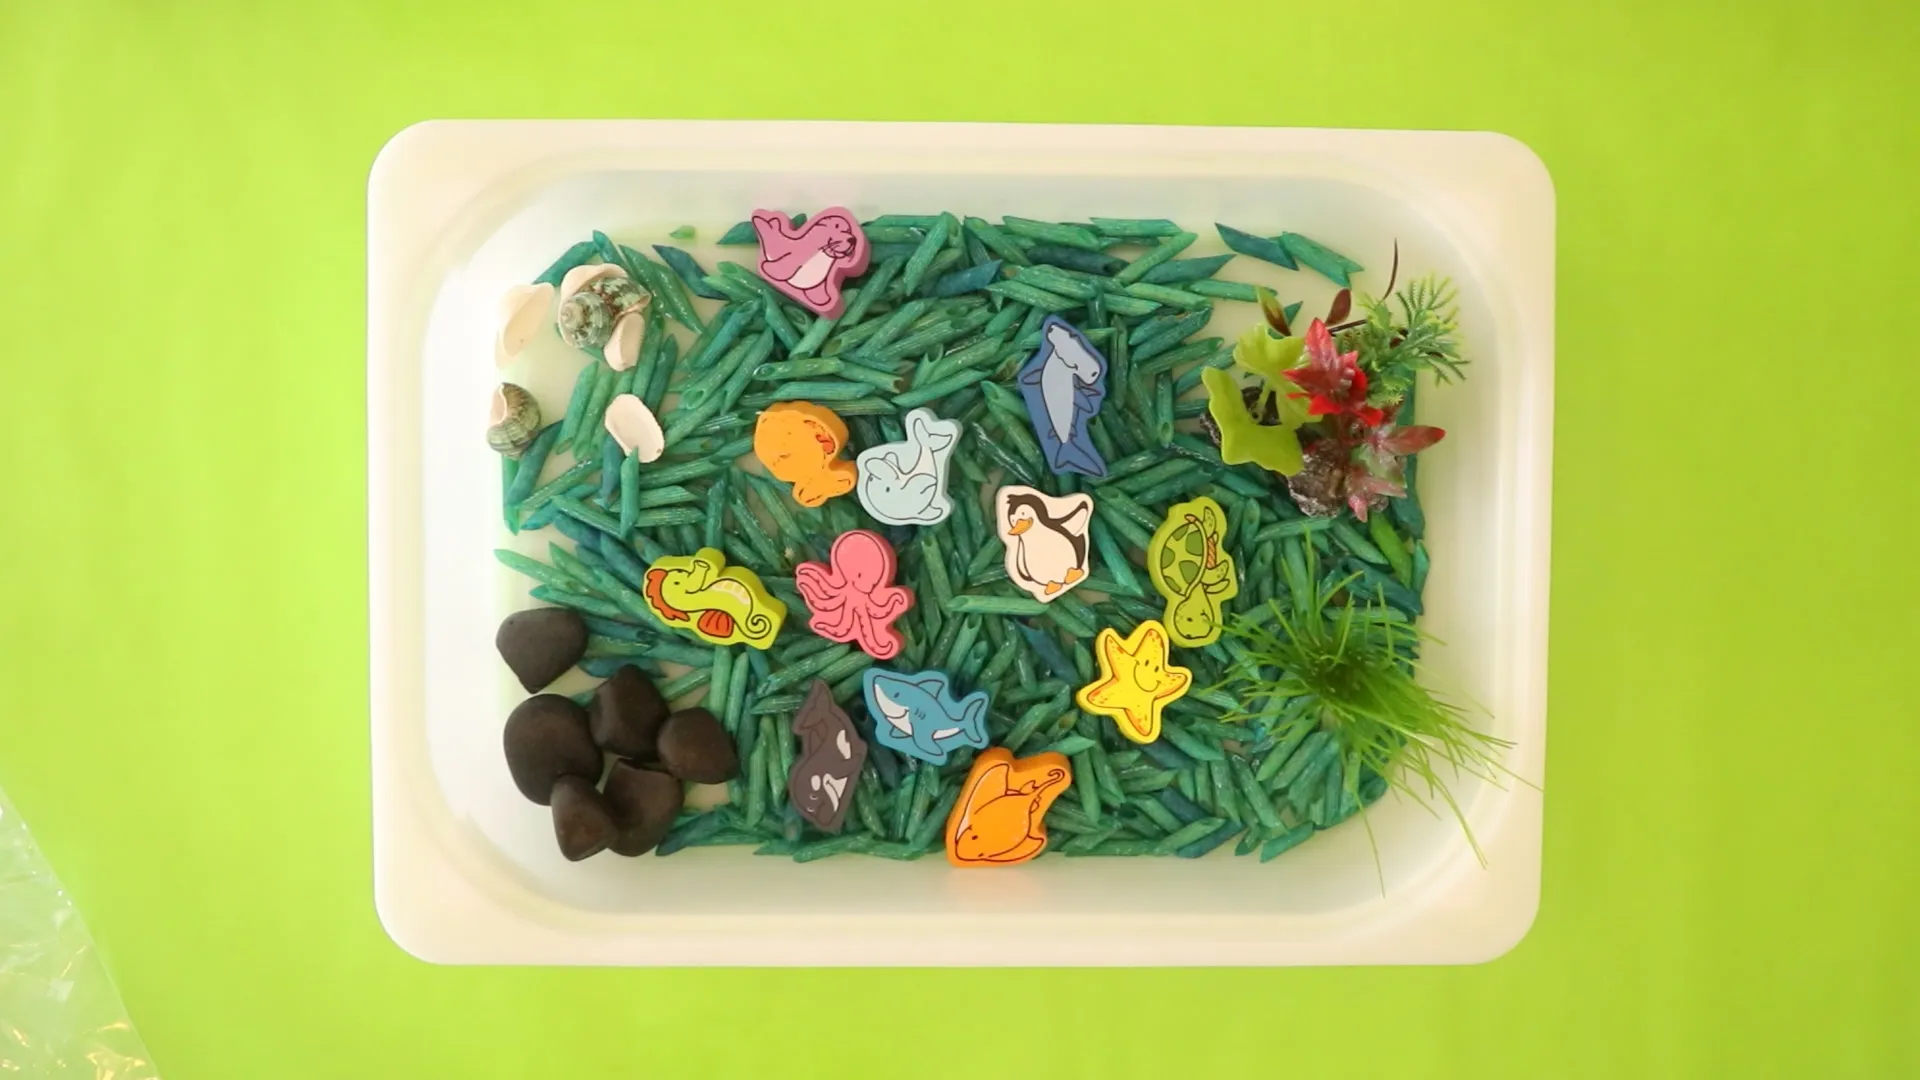
Sensory play is a hot topic right now and for good reason! Sensory play is any activity that stimulates a child’s seven senses: touch, smell, taste, movement, balance, sight, and hearing. While there are many ways to engage your kiddo in this type of play, one of our favorites is themed sensory bins, like this under-the-sea version we created! Keep on scrolling for detailed instructions on how to make your own.
Did you know that sensory bins have a ton of benefits? They help build your child’s imagination and develop fine motor skills such as scooping, filling containers, and picking up small toys. You can build their vocabulary and incorporate early math and literacy skills by asking questions like, “How many scoops does it take to fill this container?”. You can also create bins with themes that connect back to books you’ve read together, holidays, shared experiences, and so much more! The best part? As long as the materials are developmentally appropriate, sensory bins can be enjoyed by all ages!
Instructions
1. Choose a container
Realistically, you can choose any bin you’d like that is the size you want. You can use a plastic storage bin, bucket, large bowl, baking dish, or anything else you can think of. If you plan on keeping the sensory bin intact, choose a container that has a lid to avoid a potential spill and big mess!
2. Choose a base
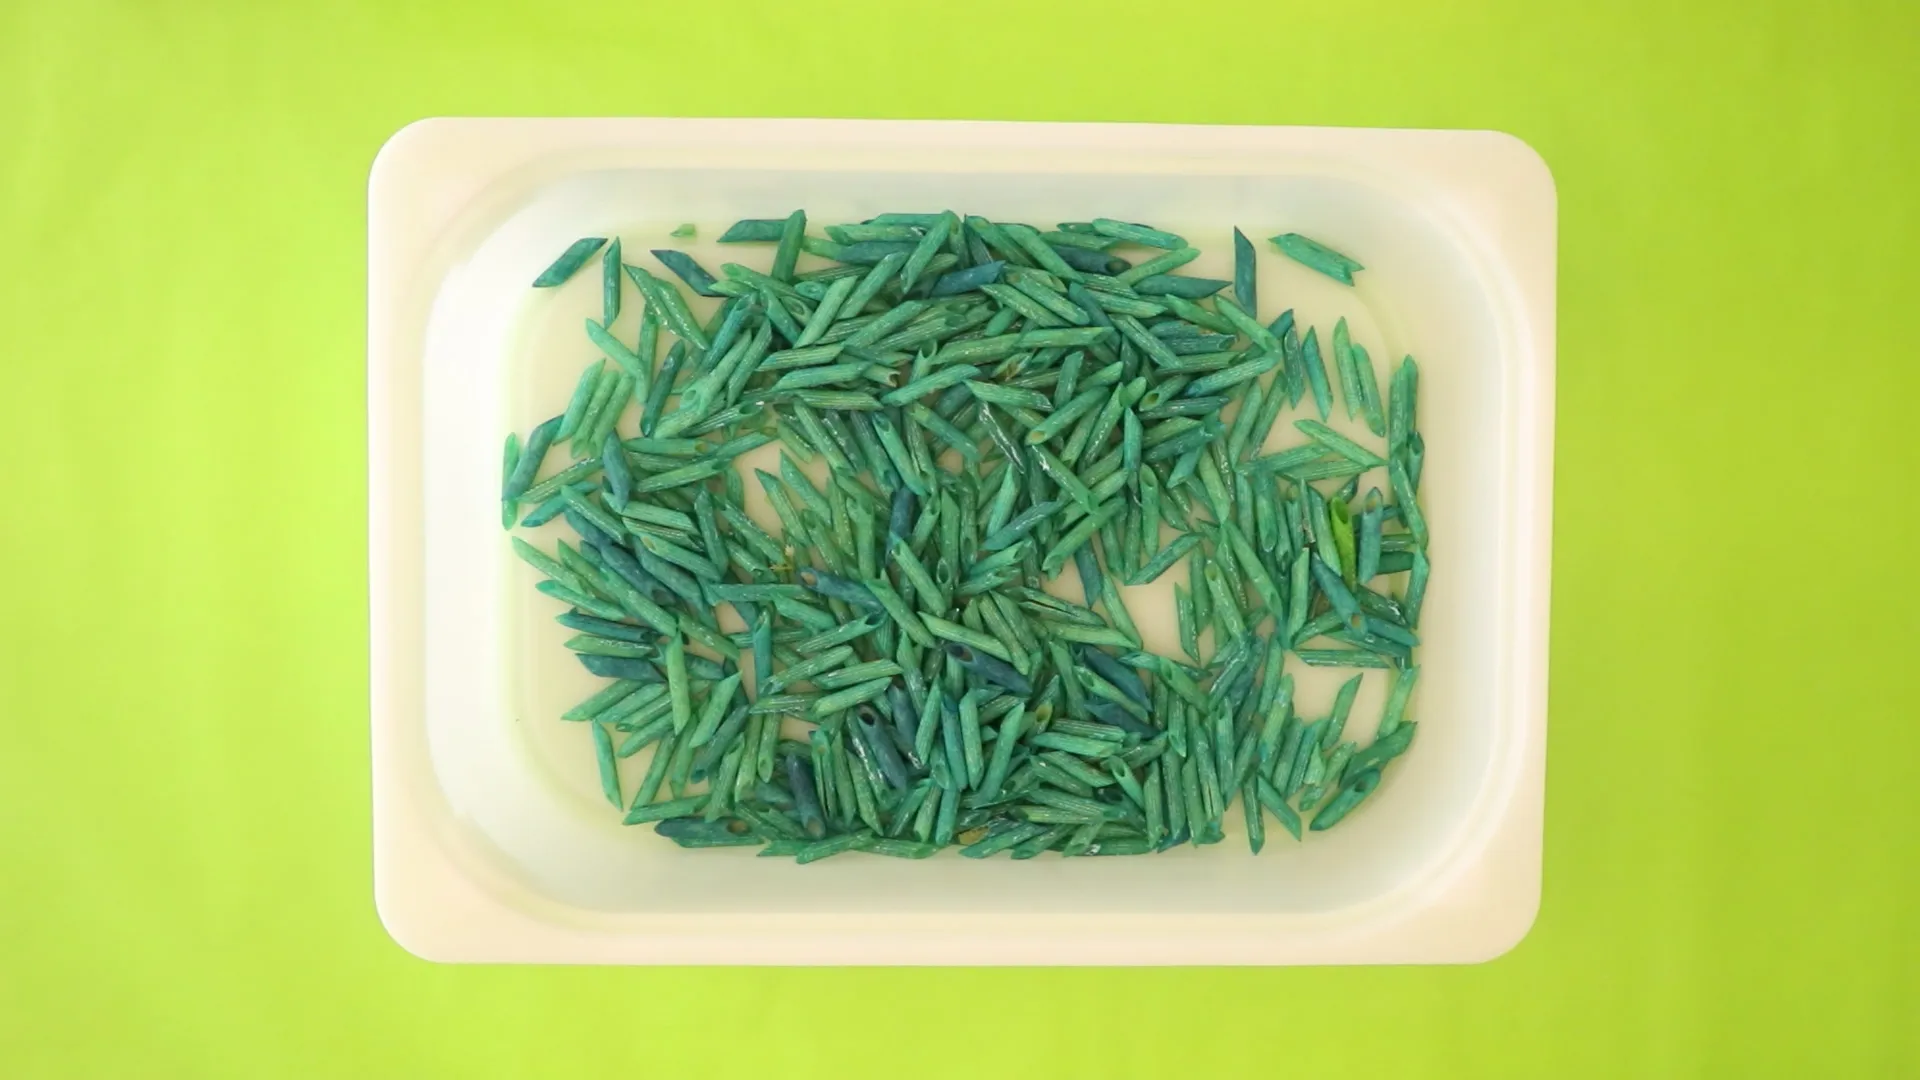
There are so many options for the base including rice, shaving cream, water, shredded paper, dried beans, pompoms – the list goes on! However, we used dyed pasta for this sensory bin.
3. Add toys and materials that fit the theme
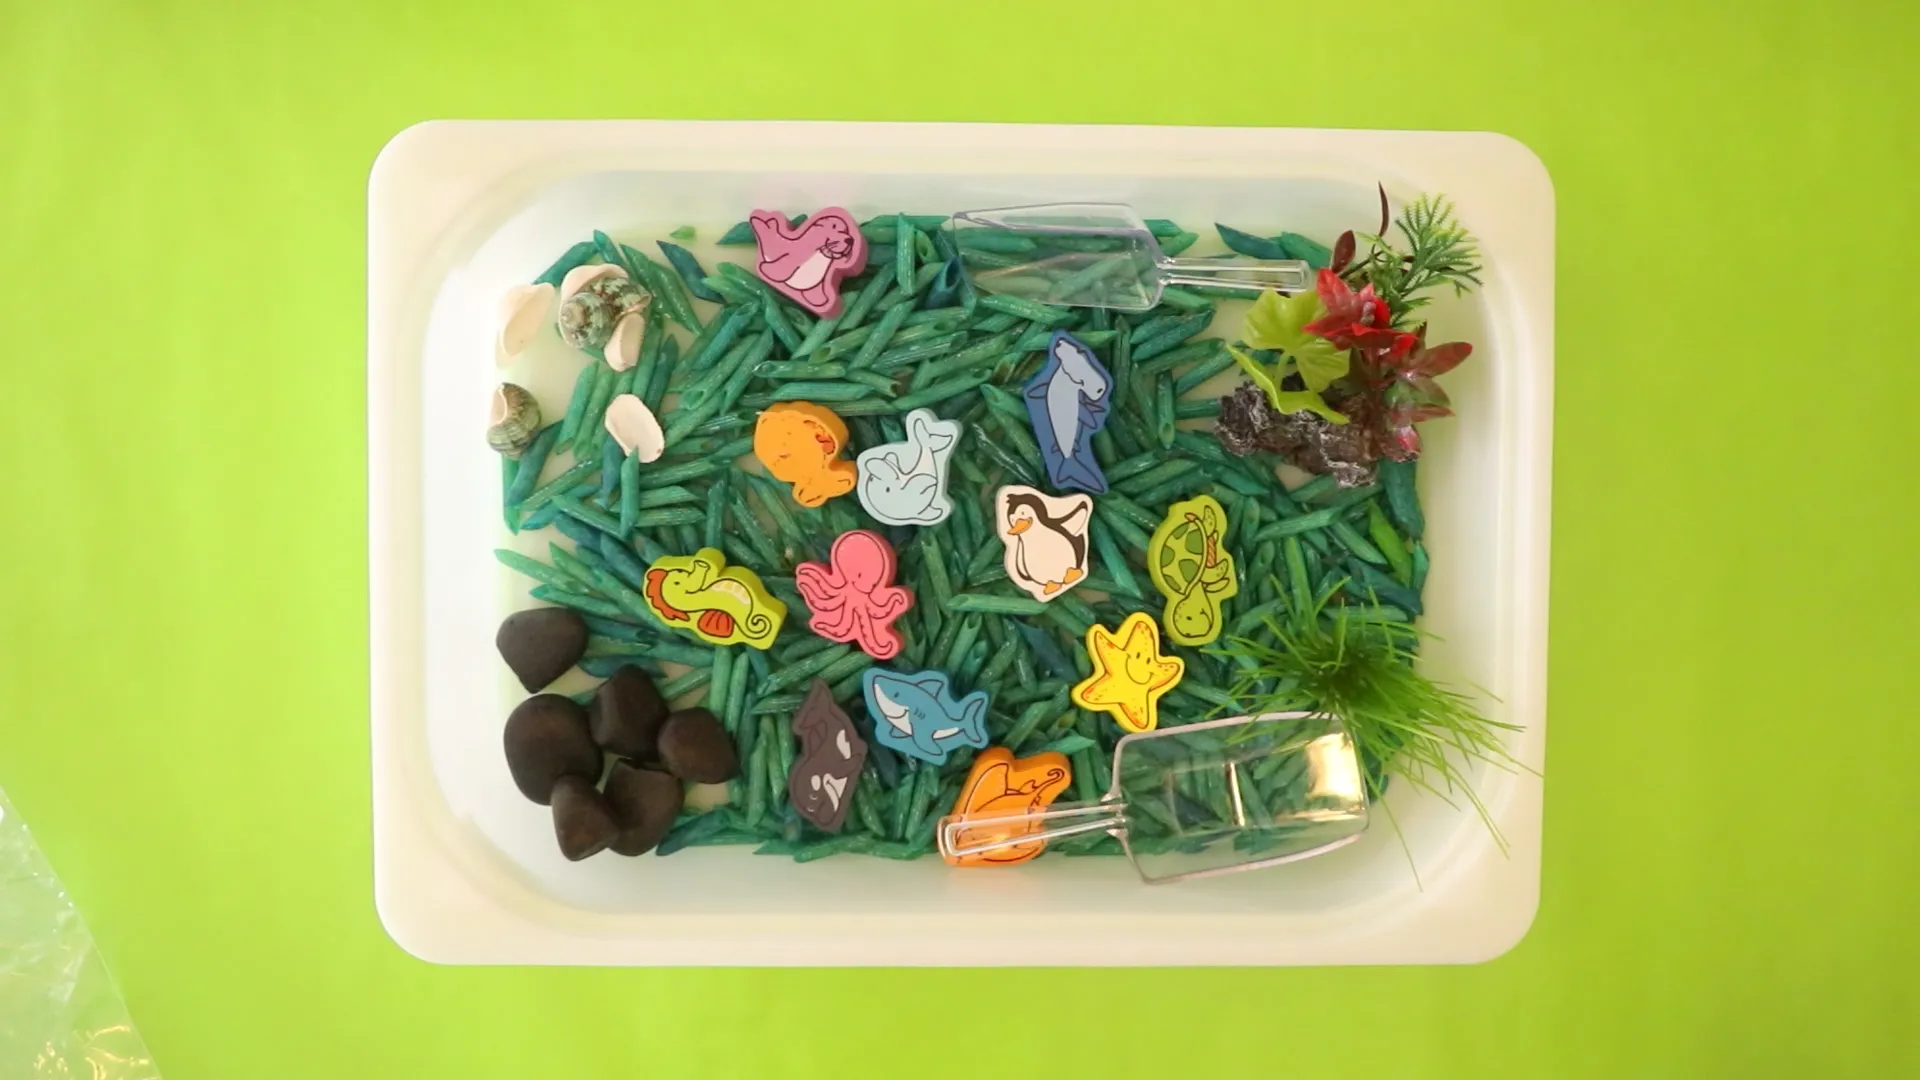
Choose small, unique, and interesting materials with a wide variety of textures. Also, consider adding natural materials to help children connect to nature! For the under-the-sea theme, we chose (new) plastic fish tank accessories and plants, smooth rocks, rough seashells, and wooden sea creatures. Feel free to use some of your child’s existing toys or visit the dollar store for some inspiration. Just remember to keep materials age appropriate to avoid choking.
4. Add tools and other instruments
We recommend tools such as scoops, measuring cups/spoons, containers, jars, and funnels. Check your recycling bin, local dollar store, and kitchen drawers for free and cheap ideas! We used plastic scoops and bottles for our kiddo to play with.
5. Playtime
Your bin is ready for your kiddo to dig in! Please note, for younger children supervision is always recommended.
So what are you waiting for?! It’s time to get creative! It really is that easy to create a fun, enriching, and inexpensive activity for your kiddo! What theme do you want to try next?
