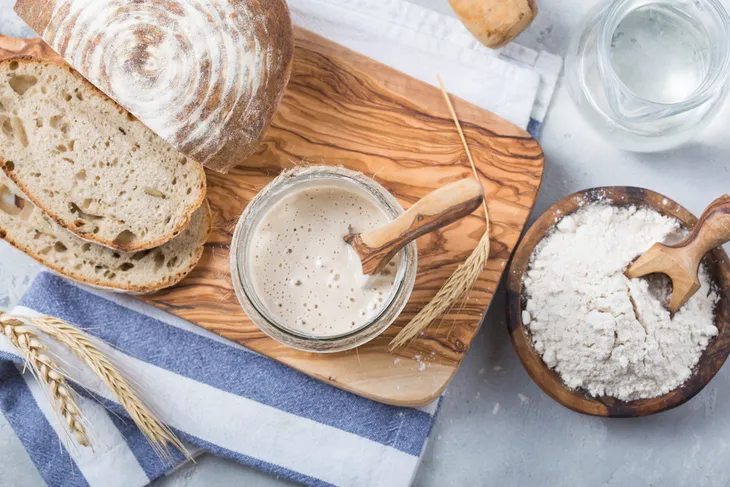
People are flexing their “making-from-scratch” muscles while stuck inside, which has caused a rise in bread baking! There are a number of ways to make homemade bread, with the most common method using store bought active dry yeast. If this is the kind of yeast you have on hand, check out our Easy Instructions To Bake Bread From Scratch!
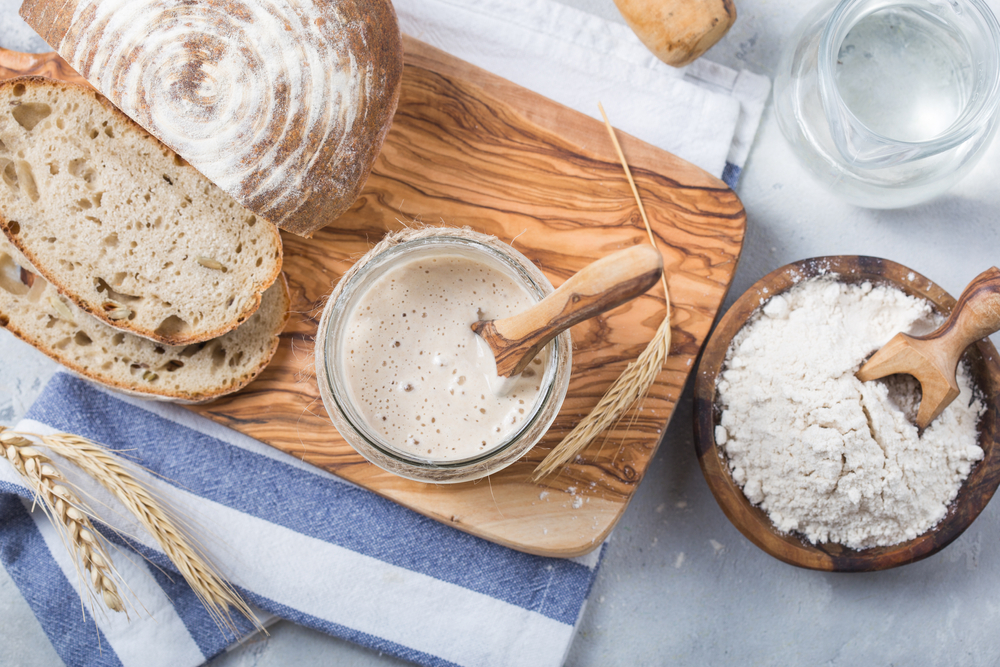
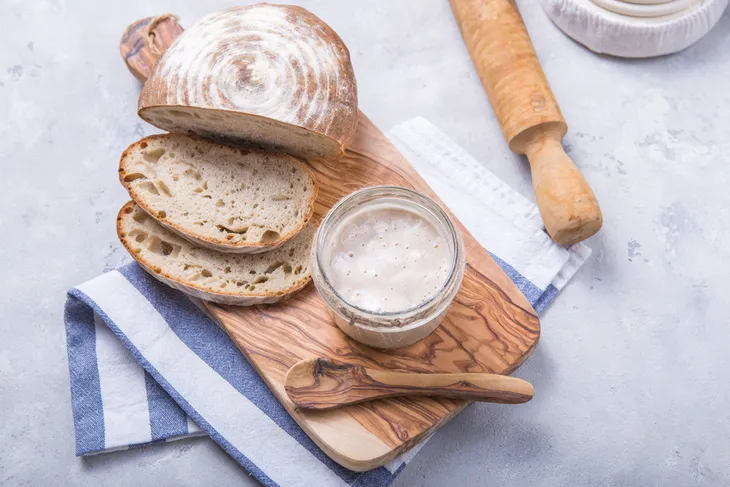
Another delicious way to make homemade bread is by using a sourdough starter, which is a fermented dough with wild yeast and lactobacilli bacteria. Many people get a starter from friends or family (some families have a starter that’s been passed down from generation to generation!), but it’s actually fairly easy to make your own from scratch with a few ingredients and a little bit of patience. It’s worth the process to get this chewy, flavorful, and easier-to-digest bread, right in the comfort of your own kitchen.
In most flours, there is wild yeast that, given the chance, will activate through the process of fermentation with the addition of water, feeding on the sugars in the flour. However, the starter needs to be “fed” additional flour and water every day, so make sure you’ve got 5- to 10-minutes (around the same time) every day to do this, otherwise, your starter may not turn out. To help you get going, we’re going to walk you through the process from start to finish!
Want diet & nutrition content delivered straight to your inbox? Sign up for our exclusive diet & nutrition newsletter!
Make the Starter
To make the starter you will need all-purpose flour, water, a small glass bowl or mason jar, an elastic, and a porous cloth covering. You can use tap water, but make sure that whatever water you’re using is chemical and chlorine-free.
- Determine whether your tap water is treated with chlorine or chloramine by the city. If there is chlorine in the water, simply fill a large cup up and leave it overnight to allow the disinfectant to dissipate. If your city uses chloramine, you will need to use bottled or distilled water instead (even though I can’t stand single-use plastics!). If your tap water doesn’t have either of those common disinfectants, you can use it straight out of the tap!
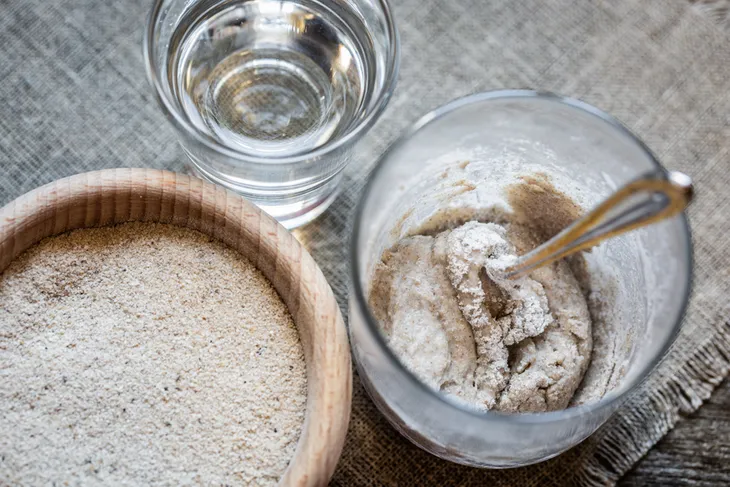
- In a glass bowl or mason jar, combine 1/2-cup of all-purpose flour with 1/4-cup of warm water. You must use glass, as it’s non-reactive and therefore won’t interfere with the fermentation process.
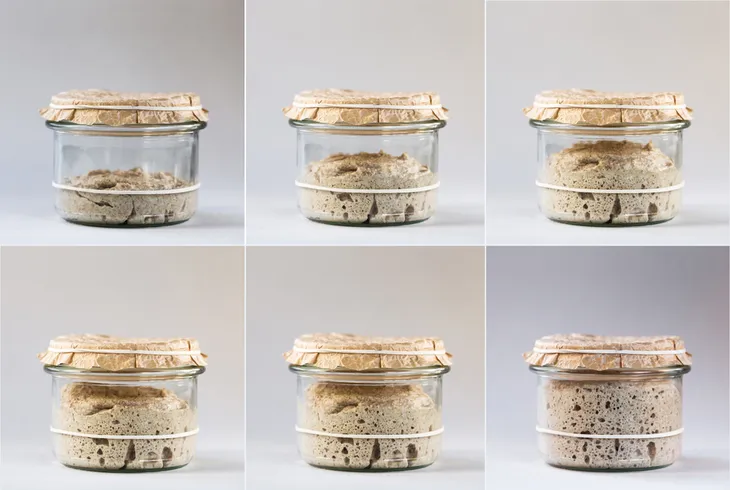
- Using a fork, stir the mixture well until it looks like a thick paste. Scrape down the sides of the container and cover it loosely with the lid or a porous cloth (this allows the mixture to “breathe”), securing it with a rubber band or clean hair elastic. You can also put an elastic around the container to mark the top of the mixture. This will help you keep track of how much the starter has grown!
- Set somewhere warm, about 80°F (26°C) for 24-hours. The Kitchn recommends the top of the refrigerator, as it gives off some heat, but a sunny spot in your kitchen works as well. The fermentation process is dependent on temperature, so be sure to watch and adjust if your starter isn’t staying warm enough.
Feed the Starter
At the 24-hour mark, it’s time to feed your starter for the first time! If you notice some bubbles in the starter, that’s great! This means the fermentation process has started. However, if there aren’t any yet, don’t fret. Sometimes it takes longer to get the mixture going depending on what your conditions are. Regardless, these are the next steps in the process to make a sourdough starter from scratch.
- Discard about half of the original starter.
- Add another 1/2 cup of all-purpose flour and another 1/4 cup of warm water.
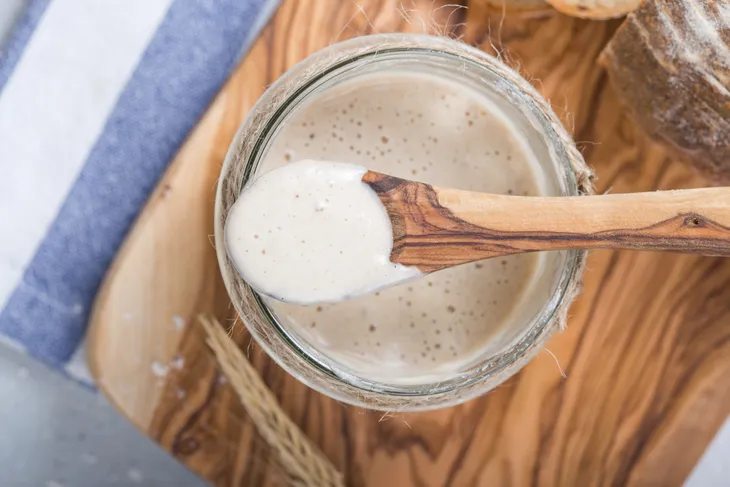
- Mix with a clean fork until the mixture is smooth and incorporated. It should be the consistency of a thick pancake batter.
- Secure the lid or cover on the container, placing it back into its warm spot to continue to ferment.
- Repeat steps 1 through 4 every 24 hours for another five to six days.
As days pass, it will start to smell sour. This is normal and exactly what you want to see happening, so don’t be concerned. After all, it is called sourdough. Additionally, if you see brown liquid (called hooch), don’t worry! Just drain it right before you feed your starter the next time. This is also completely normal and usually indicates that the starter is ready to be fed.
Test and Bake With the Starter
Day 7 or 8 is usually when the starter is ready to be used in baking, but ensure it meets these four markers first. It should (1) be twice its original size, (2) be fluffy and filled with bubbles, (3) smell sour, but not stinky, and (4) have a vinegary taste. If it doesn’t have all of those four things, feed it and give it another 24-hours before checking it again.
Once your starter meets those markers, it’s time for the final test – the float test. Drop a teaspoon of the starter into a glass of water. If it floats, it’s ready to be used in a homemade sourdough bread recipe! You can find many sourdough bread recipe variations in cookbooks and online, but one of our favorites is The Clever Carrot’s Sourdough Bread Beginner’s Guide.
Maintain the Starter
If making a sourdough starter was a one-time, fun thing to do, then you can discard it. However, since you put so much time into it, we recommend keeping and maintaining it! To do this, transfer the starter into a clean glass jar or bowl, secure the covering, and place it in the fridge. About once a week, pull it out, discard half the starter, transfer the remaining starter to a clean glass container, and feed it with a 1/2-cup of flour and 1/4-cup of water, mixing well to combine before covering it and putting it back in the fridge. When you’re ready to bake with it, remove the starter from the fridge and feed it at room temperature to wake it back up.
If you bake bread more frequently, store the starter on your counter, continuing to feed it every 24-hours. If you maintain it properly, your sourdough starter can last years, giving you yeast for homemade bread time and time again.
Notes
The most foolproof way to create a sourdough starter from scratch is with all-purpose flour, however, that doesn’t mean that other flours won’t work.
You’ll see a surge of activity in the first few days for many starters and then a period of little activity. Don’t become concerned and throw it away! Keep to the feeding schedule and ensure it stays warm and wait. Patience is your friend during this process.
If you forget to feed, don’t panic and throw your starter out! It may look ugly and smell a little funny, but it generally just needs a couple of feedings to perk back up.
