Tis the season for spring cleaning! The spring season is almost like a fresh start. New flowers are blooming, people start spending more time outdoors, and after spending all winter cooped up in our homes — they’re overdue for a good deep clean! While we’re at it, now’s a good time to get organized.
While some people love the feeling of a good spring cleaning, for others it can be overwhelming. They don’t know where to start! Don’t fret, we’re here to help. For those who are looking for some tips and tricks when it comes to spring cleaning and home organization, start with these 10 steps…
Devise a Plan
No matter how big or small your house is, the task of spring cleaning can be overwhelming. When the whole house needs to be not just cleaned, but deep cleaned — where do we even start? To help deter away any feelings of anxiety or stress, take some time to sit down and create a plan. This is especially important for parents who have little kids running around and not exactly a lot of time to waste.
You don’t have to get all of your cleaning done in one day. While that’s probably preferable, for someone with a large home or family, that’s not exactly practical. You can tackle it one room at a time. Spend one day doing the living room, and the next day doing the kitchen. This way you can properly focus on each room and you’re not rushing through the process. You could also decide to do dusting one day, and then vacuum the next. Devise a plan that makes the task more manageable.
Create a Checklist
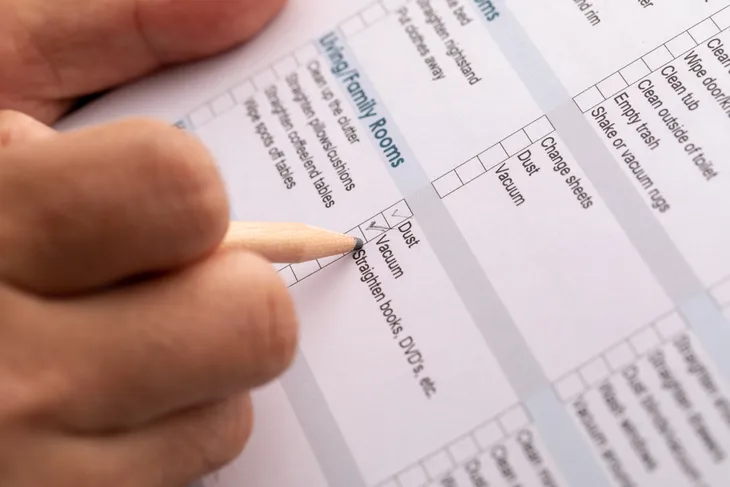
Another great way to stay organized and ensure every nook and cranny gets cleaned is by following a checklist. The best way to do this would be to divide the list up by rooms and include every little thing you’d like to get done in each room. Taste of Home has a very thorough, room-by-room checklist available for free! Click here to download their printable spring cleaning checklist.
Put Away Seasonal Items
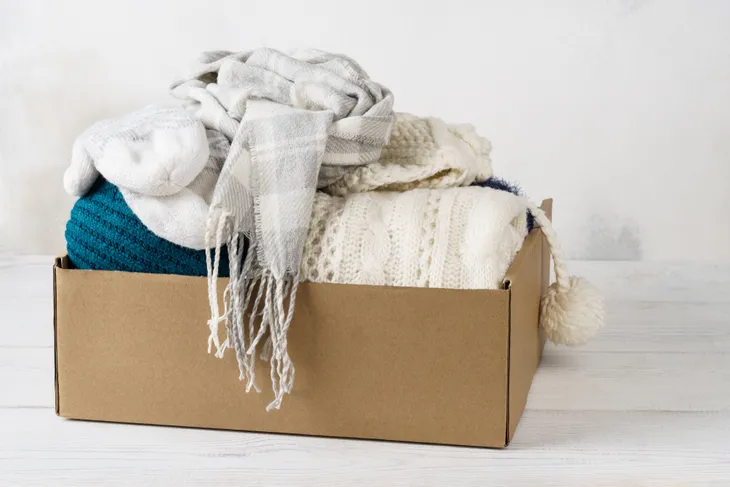
Since you’re likely doing your spring cleaning in the spring, a good place to start is with any winter-related items. Get rid of or put away things that no longer serve a purpose, such as winter gear or equipment. You should also do this with wardrobe. Swap cold-weather clothing for warm-weather options. Helpful hint: if you’re storing things in bins, use clear bins so that you can see what’s inside. You won’t have to go digging around when looking for something.
For some people storage is an issue. People in apartments don’t have an attic, garage, or basement. In those cases, you’ll just have to get creative. One way to do this may be to dedicate one half of the closet for winter items and the other half for spring and summer jackets.
Remove Everything From the Space
Before you tackle cleaning any space whether it’s a cupboard, closet, or an even bigger space like a bedroom, try to remove as much as possible. Getting rid of the clutter allows you to really clean the space and get at areas that are often overlooked during quick cleaning sessions.
Not only does it help with cleaning, but removing everything from a space helps provide a better picture of how much stuff you have. This is one of Marie Kondo’s tricks! You’ll likely be shocked at the amount of belonging you have. As you’re putting things back in their place, really think about what you’d like to keep and what you can get rid of. This way you’ll declutter and clean at the same time!
Dust Before Vacuuming
Seasoned cleaners know this little nugget of information, but newbies and amateurs might not! You always dust before vacuuming. While dusting does help remove dust, it also stirs it up and a lot of it will likely just settle on the ground. To ensure all of the dust is collected and the area is actually clean when you’re finished cleaning, be sure to vacuum after dusting.
When dusting, don’t forget areas like baseboards, ceiling fans, and chandeliers. These are places where dust loves to collect and is easily forgotten about because they’re out of sight and out of mind. During a spring cleaning session, these are the kinds of areas you’ll want to tackle.
Create “Homes” For Your Belongings
To begin organizing, everything should have a “home,” meaning every item should have it’s own dedicated place. This should help eliminate clutter because items will no longer be left just lying around. After you’re done using an item, it will go back to it’s home.
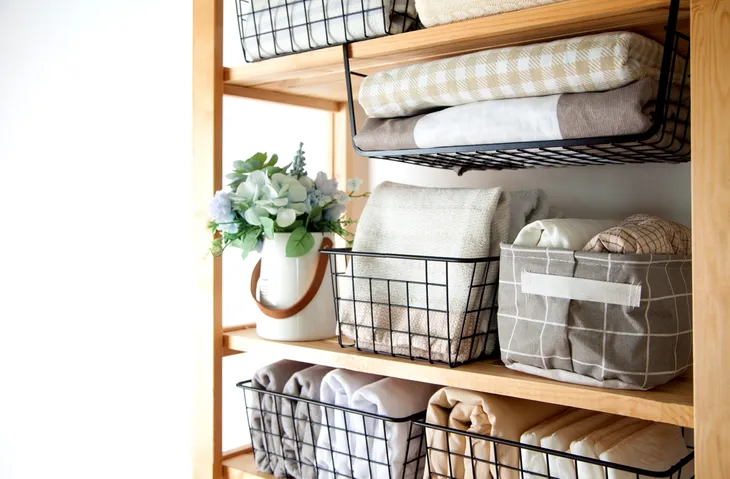
A great way to create homes for items is to buy baskets or bins. You can use these bins in closets, cupboards, or on shelves. You can group similar items together. For example, you might want to put all of your medicine (tylenol, bandaids, bandages, etc) in a basket. Another basket might have all of your skincare items, like sunscreen, aloe vera, and bug spray.
Rearrange Your Pantry
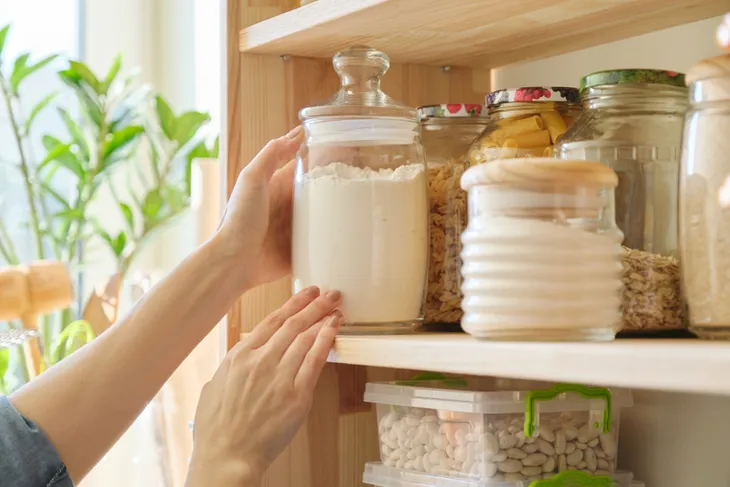
The pantry is one of the most used spaces in our kitchen, but unless you’re one of the Kardashians, it’s likely one of the least organized! The key to an efficient pantry is all about placement and storage. Start with rule number one — empty the entire pantry. Before that, invest in some clear, bulk food, zero waste containers. While some of the higher end containers are a little pricey, there are more affordable options.
You can also invest in clear bins to help group similar items together, such as pre-packaged snacks or cans. While it might seem silly to waste money purchasing bins to organize food that already comes in a container, having a well organized pantry is a huge investment. It will make grocery shopping much more efficient. Plus, it will deter you from buying items that you already have.
When putting items back in the pantry, be mindful about expiry and best before dates. Put the older items to the front and the newer items near the back. You don’t want to have to throw away perfectly good food just because you forgot it was there!
Use the Dishwasher for Household Items
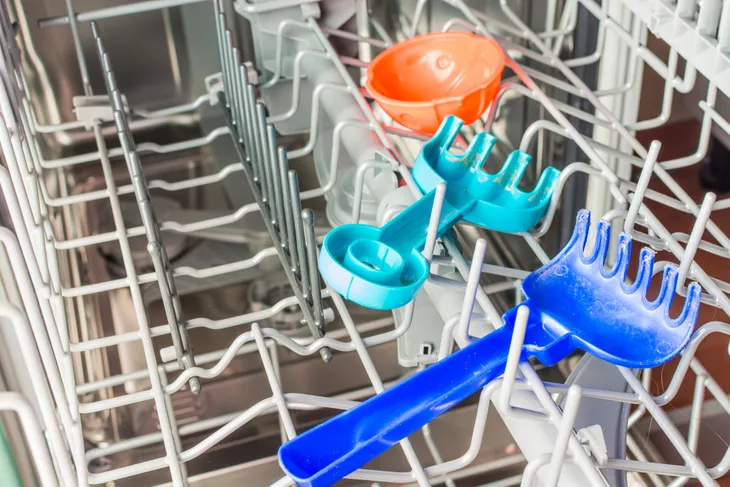
A great efficient cleaning hack is to use the dishwasher for more than just dishes. You can load it up with other items from around the house like sponges, plastic toys, or plastic brushes. Just be care that you’re not putting things in there that can melt. If you’re uncertain, just change the settings on your dishwasher so that it doesn’t automatically follow up a wash and rinse with a heat dry. Set the washer to do a wash and rinse cycle, and then you can dry each item by hand.


