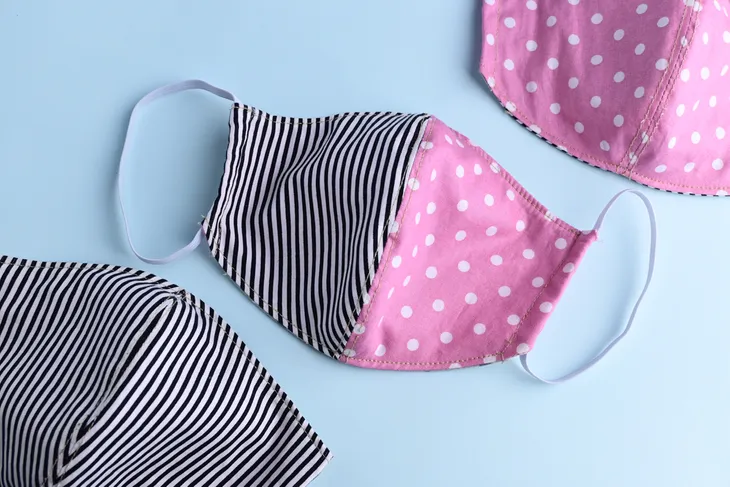
Wearing face masks is a vital way to protect yourself and others during challenging times. Why not make it a fun DIY project and inject some personality into your protective gear? Figuring out how to get started can be the most intimidating part. It can seem like a difficult endeavor, but you can make it fun and creative.
Whether you love to sew or just want something new to cover up with, there is a wide range of options to guide you on your mask construction journey. Making homemade facemasks is a great way to challenge your crafting skills, keep occupied and personalize your self-expression. Here’s how to get started.
Gathering Materials
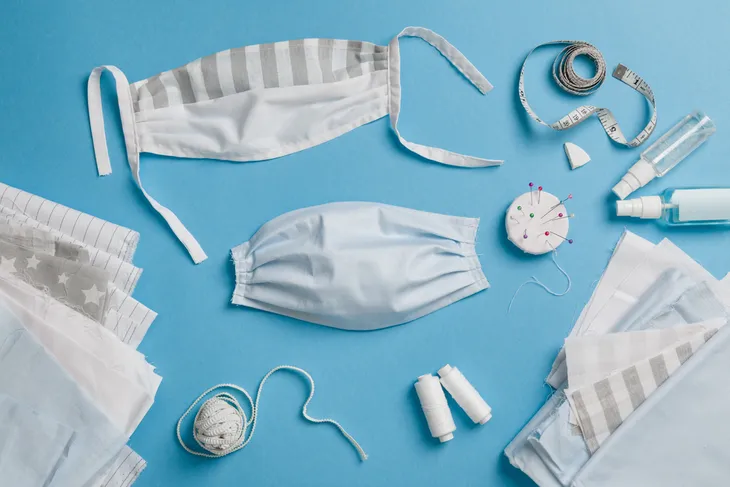
You will either use a sewing machine or put your mask together by hand. The supplies differ based on the method you’re using, but you can probably find most materials you’ll need at home. For the T-shirt method, you’ll need:
- An old T-shirt
- Scissors
- A measuring tool
For the T-shirt and hair tie method, you’ll need:
- Two hair ties or elastic bands
- An old T-shirt
- Scissors
- A measuring tool
If you’re in the mood to sew, you’ll need:
- At least two 10-inch by 6-inch fabric squares (an old T-shirt could work)
- Elastic, rubber bands or fabric ties
- A needle and thread or sewing machine
- Scissors
- A measuring tool
You can certainly tailor your choice of pattern to what materials you have around you, or you can try out each one to see what you like best. If you plan on making multiple masks, testing different ideas for construction can help you figure out which one is your personal favorite.
What Kind of Fabric Is Best?
Making a mask out of any fabric is better than not having one at all. T-shirts work fine, as well as fabric scraps you’ve got lying around. If you’re on the hunt for a specific material, try a tightly woven cotton. Medical News Today recommends one sheet of a 600-thread-per-inch cotton in addition to two layers of chiffon, made of polyester and spandex.
However, if you’re working with what you have, T-shirts are a perfectly reasonable option for your mask construction needs. If you have a tightly woven cotton lying around, that’s even better. It’s imperative to remember that it isn’t just the materials that make a mask effective — how you wear it is also important.
Quick Construction
There are a few speedy methods of assembling face covers if you’re in a pinch and need something to toss on quickly. These ideas are also great alternatives for those who don’t own sewing machines or would rather not sew at all. Old T-shirts, either with or without elastic bands, are a good option.
If you’re making a mask out of a T-shirt, the steps are pretty straightforward. First, you have to decide if you want elastic ties or built-in strings made from the shirt’s fabric.
If you’ve decided you want to use elastic, the steps you take are:
- Remove the bottom 7-8 inches of a T-shirt and cut it into a rectangle.
- Fold the top and bottom edges toward the middle so they meet.
- Loop the elastic onto each end of the fabric strip, about 2 inches away from the end.
- Fold the ends into the center so the elastic is secure.
- Place the mask over your face and loop the elastic onto your ears.
If you’d rather use the fabric itself to make the ties, follow these steps:
- Remove the bottom 7-8 inches of a T-shirt and cut it into a rectangle.
- Measure 6-7 inches in from each side of that rectangle.
- Cut a square from each side so only the top and bottom inch or so remain.
- Cut the new strings in half so they can be tied around the ear.
Just like that, you have a quick and easy mask, ready for daily use.
Sewing by Hand
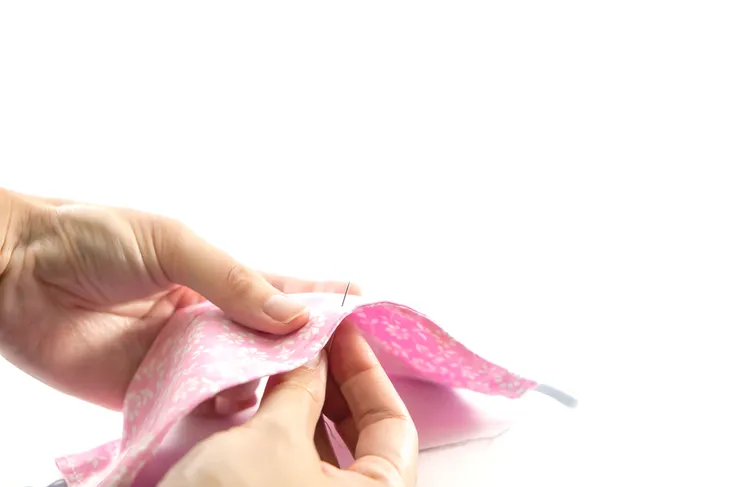
If you like to hand sew, you’re in luck. Many of the patterns that use a sewing machine can be easily done by hand as well. However, if you’re not quite secure in your handiwork yet, you can use safety pins instead.
While hand sewing may take slightly longer, it’s still a great way to make your own mask, especially if you’re looking for a fun project to pass the time. If you want to make a mask by hand, simply follow the steps of the sewing machine method, but with a needle and thread.
Sewing Machine Method
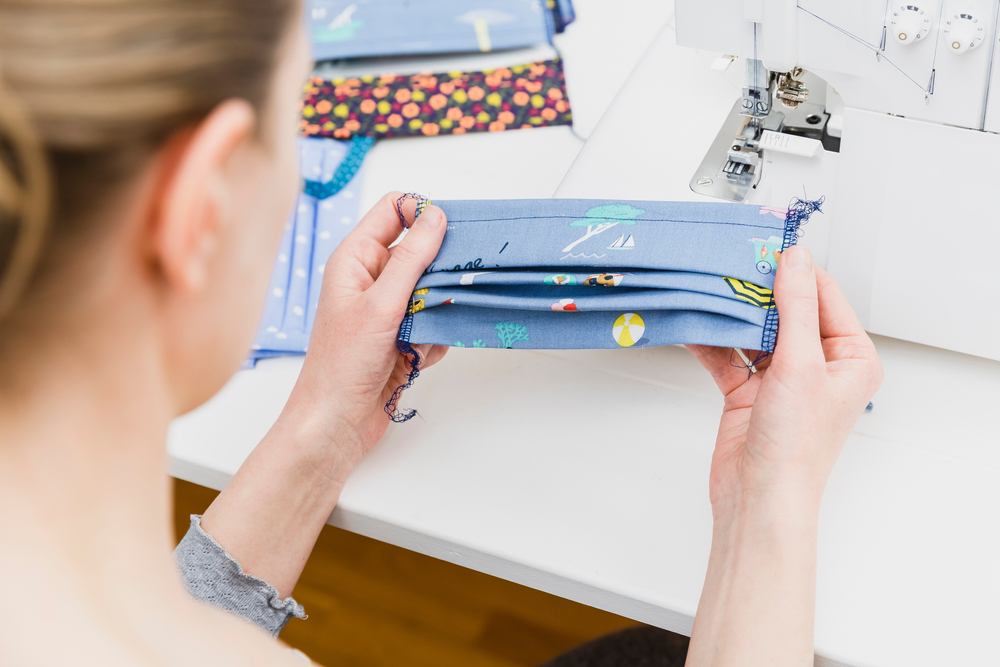
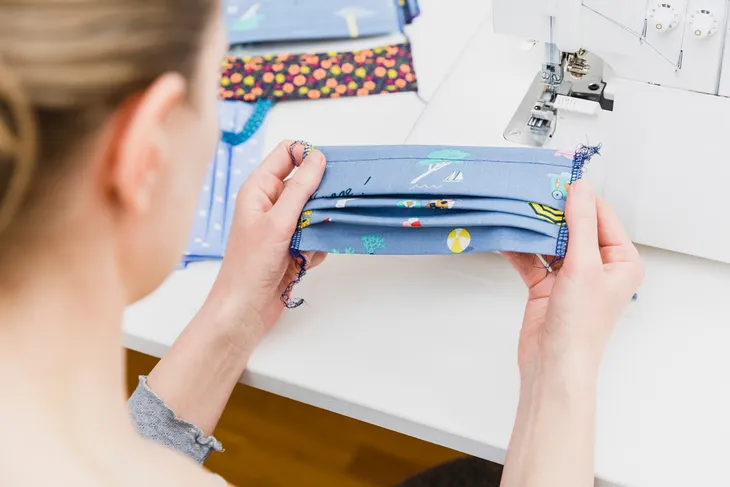
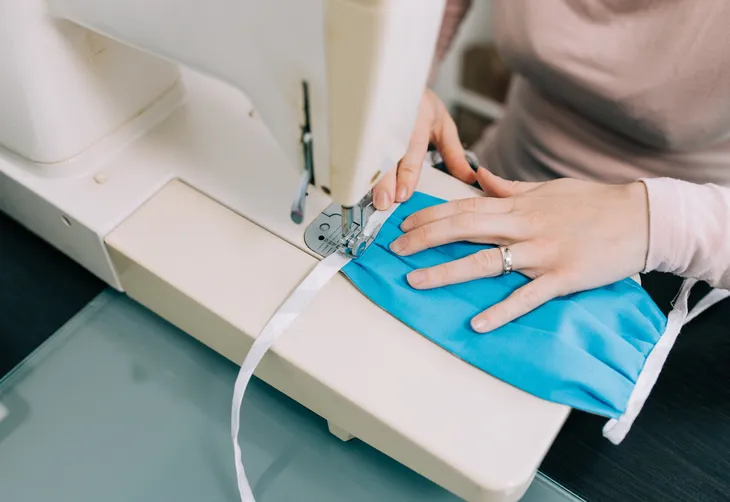
If you have a sewing machine, you probably have some experience already. Making masks is simple and straightforward, and can serve as great practice to help you hone your skills for future sewing endeavors.
Whether you’re using a sewing machine or are working by hand, follow the steps below to create your own mask:
- Place the two pieces of fabric on top of each other.
- Hem the top and bottom edges at about a quarter-inch.
- Fold the fabric in by half an inch on the sides and stitch down to make loops for the elastic.
- Thread the elastic or fabric ties through the holes and knot.
- Try on the mask and gather the fabric on either side to fit your face best.
- Stitch the elastic or fabric ties in place.
In addition to following these steps, there are many video tutorials on various ways to sew masks if you need a clear visual guide.
Where to Wear
One of the added benefits of making a mask you love is feeling motivated to wear it everywhere, which is exactly the point of having one. These masks are perfect for any public place or situation where people are close together, such as grocery stores, pharmacies or doctor’s offices. When in doubt, you should wear your facemask during any outing.
How to Wear
There are a few ways to make sure you’re wearing your mask as effectively as possible. The first is to make sure it fits properly, which means it’s snug to the face and does not slip or fall down. It’s also important to make sure you’re wearing it in a way that covers both your mouth and nose, so you’re not breathing out directly into the space around you.
If you wear glasses, a great way to make sure your mask is in the proper position is to place the nose pads snugly on top of the fabric on the bridge of your nose. This way, your covering will stay in place without slipping, sliding or gaps.
Tips for Comfort
While wearing masks in public isn’t always comfortable, there are a few steps you can take to make sure you’re properly wearing your new creation. First and foremost, measure it correctly in the construction process to be certain it fits appropriately. It should be tight enough not to slip and slide, but it shouldn’t suffocate you or leaves marks on your face.
If you have dry or easily irritated skin, properly moisturizing before putting on your mask will help your face feel healthy and comfortable.
If you wear glasses, you’re probably already tired of masks fogging up your lenses every time you breathe. Investing in glasses with an anti-fog coating will do away with this issue so you can go about your day without obstructed vision.
How Do I Care for My Mask?
If you’ve constructed a mask you truly love, you’ll want to care for it properly. To keep it clean, fresh and effective, wash it after each outing. You can put them in the washing machine like other fabric or clothing items.
Making multiple masks is a great way to cut down on wash cycles and preserve their longevity. Rotating their use not only allows you to have some variety in your color and pattern choices, but it also cuts down on laundry.
Share the Love
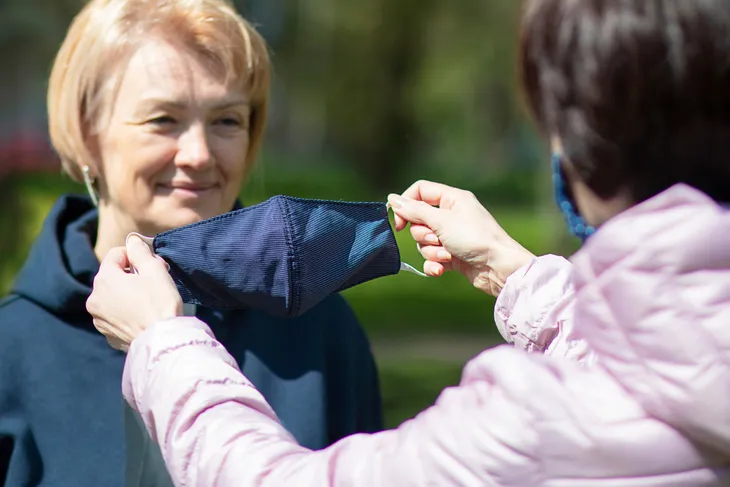
If you find that you have a knack for making masks, you can extend those skills to your immediate circle by creating a few for the members of your household or close friend group. You can also teach others how to make masks and inform them how easy it is.
Making masks doesn’t have to be difficult, dull or intimidating. There are many ways to make coverings to fit everyone’s needs, and crafting them can be an enjoyable learning experience.
