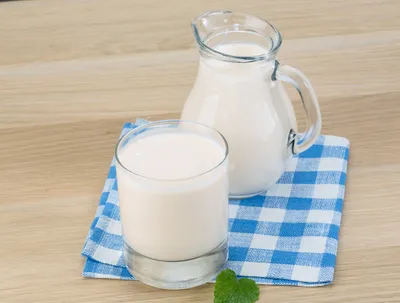
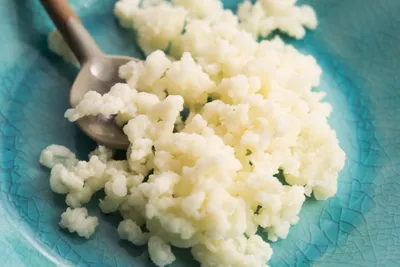
The fermentation craze has been sweeping North America for the past year and shows no signs of slowing down. We’ve seen it come in many forms including yogurt, kimchi and sauerkraut, but the dairy-based drink known as Kefir is another fermentation wonder picking up steam. The drink tastes similar to yogurt, but with a consistency closer to milk and offers great levels of probiotics, which is the healthy bacteria that keep our digestive system operating at optimum efficiency.
Kefir is low in lactose and high in calcium and phosphorus. It can be found in both effervescent (fizzy) varieties and non-effervescent and may be flavoured with fruit like strawberries, raspberries, or blueberries or come plain. While kefir is now easily found in most supermarkets, those who enjoy a DIY challenge should read on to discover how to make your own healthy Kefir beverage at home…with these simple steps!
Step 1: Gather Supplies
You don’t need a whole lot to make a batch of probiotic-packed kefir, but there are a few necessitates. You’ll need fresh milk (organic is best), a large, a clean glass jar with lid, a wooden spoon, a fine mesh strainer (preferably nylon), a large bowl, and some kefir grains or a kefir starter kit.
It’s important to make sure all of your supplies and tools are extremely clean, especially the jar, because any contaminants will spoil the kefir and you’ll have to scrap the batch and start over again. No one wants to waste supplies (and ultimately money) so make sure everything is squeaky clean before you begin!
Step 2: Introducing Grains
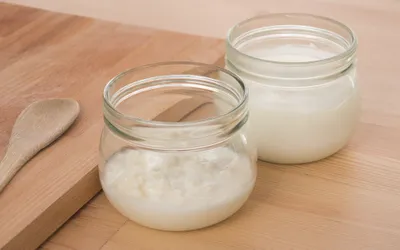
Once all the ingredients and supplies are gathered, it’s time to start making some tasty, tangy Kefir. First, add your kefir grains to the jar (you’ll want about 3 tablespoons for every later of milk) and then slowly pour your milk over the grains. Gently stir the mixture, then place the lid on the jar, but leave it a bit loose to allow gas to escape.
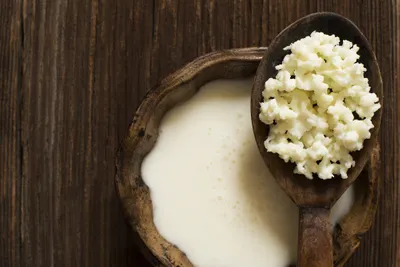
A quick note about Kefir grains: Kefir grains are actually little rubbery masses of live probiotic bacteria as opposed to the cereal grains we normally think of. Kefir starter kits can be purchased from most health food stores and these will typically last about 5 to 7 batches before you need to buy more. However, if you buy a good strain of kefir grains, they will literally last forever!
Step 3: Magic Time
Step two is where the magic really happens with fermentation! Time to leave your kefir mixture to ferment for anywhere from 12 to 48 hours, depending on how you like it. Less time will make a thinner, sweeter kefir and more fermentation time will give you a thicker, more sour product. It’s important that the jar is placed somewhere out of direct sunlight to avoid spoiling the fermentation process.
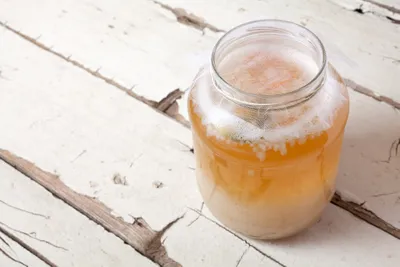
This process is where all of the gut-friendly probiotic bacteria are created and they’re the main reason why people can’t get enough of this tangy dairy drink. After some time you may see the mixture start to separate into two layers, a thicker top layer with a yellowish thin layer underneath. This is essentially the milk starting to separate into curds and whey. The more separation occurs, the more sour the product will start to become so it’s recommended that you move onto step three at the first signs of separation.
Step 4: Strain
Once you think your kefir is ready, it’s time to strain! Give the mixture a gentle stir, then strain through the fine mesh strainer into a large bowl. This will strain out the kefir grains from the liquid kefir. Rinse out the jar and then pour the liquid kefir back into it for storage.
At this point you can either store the kefir in the fridge for daily use, or you can leave the jar on the counter for a couple days to further ripen. While this idea may sound suspicious, it will actually increase the nutritional bacteria content and most of the lactose from the milk will ferment away, which is great for those with lactose sensitivities.
Step 5: Save Those Grains
After your first batch of Kefir is complete, you’ll be left with the grains that you used to start the whole process. Don’t throw them away! You can reuse the grains over and over again to make new batches, and if you purchased a high quality strain, you’ll be able to keep using them forever.
If you’re not going to make another batch of kefir right away, pour a small amount of milk over your grains and store them in a small container in the fridge until you’re ready to make another batch. The more batches of kefir you make, the more grains you’ll be left with. Which means you’ll have some to spare for friends or family who want to try their hand at making homemade kefir as well.
Step 6: Get Creative
Many people ask if they can make kefir out of other types of milk and the answer is yes! Actually, you can even make kefir from water (but the results will be a little on the runny side.) Full fat milk (usually 3.25-percent, sometimes called whole milk) will always give the best results but you can ultimately use any level of fat content you want.
Those with dairy sensitivities will be happy to hear you can even use non-dairy milks, such as coconut milk, to make a batch of kefir (though keep in mind that the kefir grains themselves are usually derived from milk.) If you want to make a flavored, rather than plain kefir, fruit can be added during the secondary ‘ripening’ stage once the grains are strained out, or you can blend fruit right into your kefir once it’s ready.

